How to use Expo with React Native
Expo is a powerful environment for React Native, which helps to create React Native apps. Without need to directly use XCode(IOS) or Android Studio, Expo allows you to see your app on a phone, emulator or browser. When you write code in expo, you still write React Native code. Expo Client help to run your app on a phone by scanning the QR code.
For the installation Expo, your best way to follow official installation documentation from official Expo documentation, because expo dependencies change from time to time. However, I want to show you how to set up the environment for Expo as simple as possible.
Implementation:
Step 1: Install NodeJs on your computer or laptop.
Installing NodeJs from the official website. This gives you npm(Node package manager)
Step 2: Install Expo CLI (command line interface).
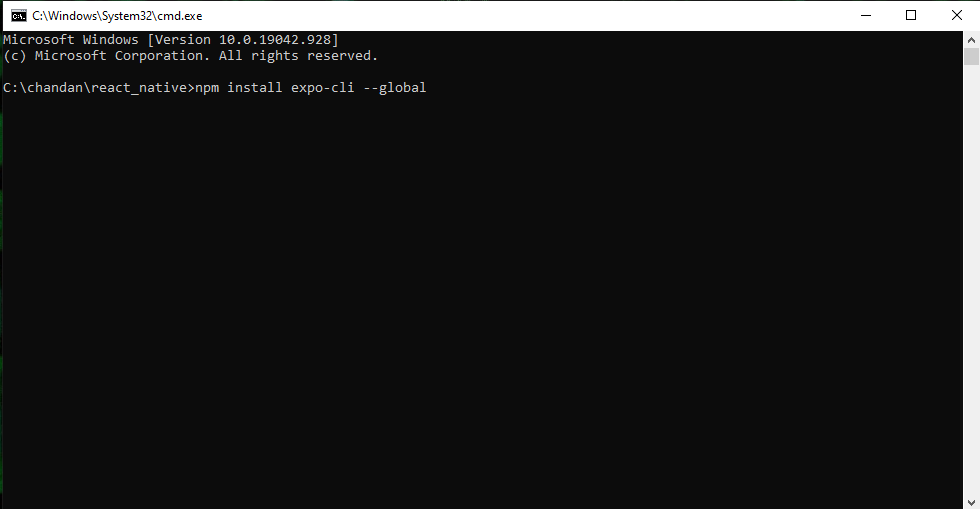
Install Expo CLI globally on your machine. open cmd, poweshell or terminal write command
mac and Linux user type sudo before command

npm install expo-cli --global
Step 3: Create your project
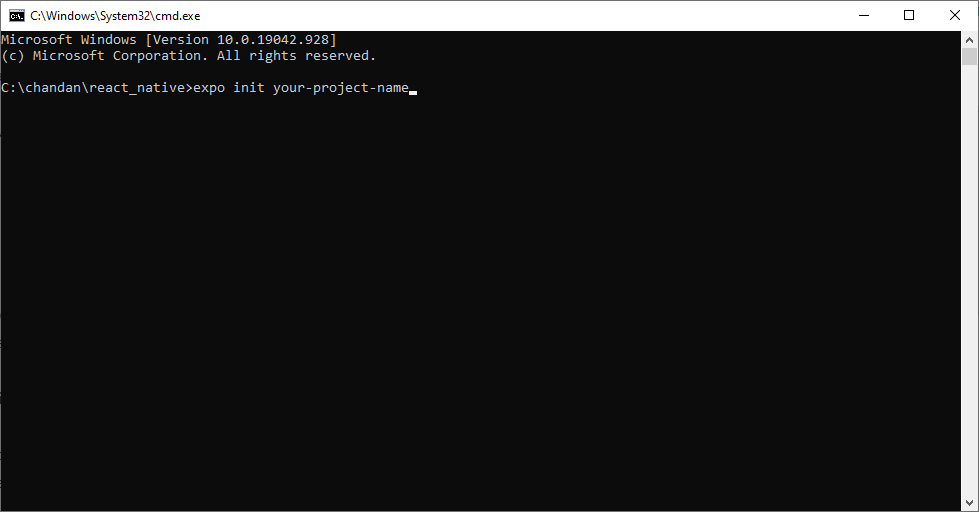
Open folder location where you want to save your project on cmd, poweshell or terminal and write give command.
Note:- Dont use sudo before create project for Mac or Linux user.

expo init your-project-name
Step 4: Start your expo project
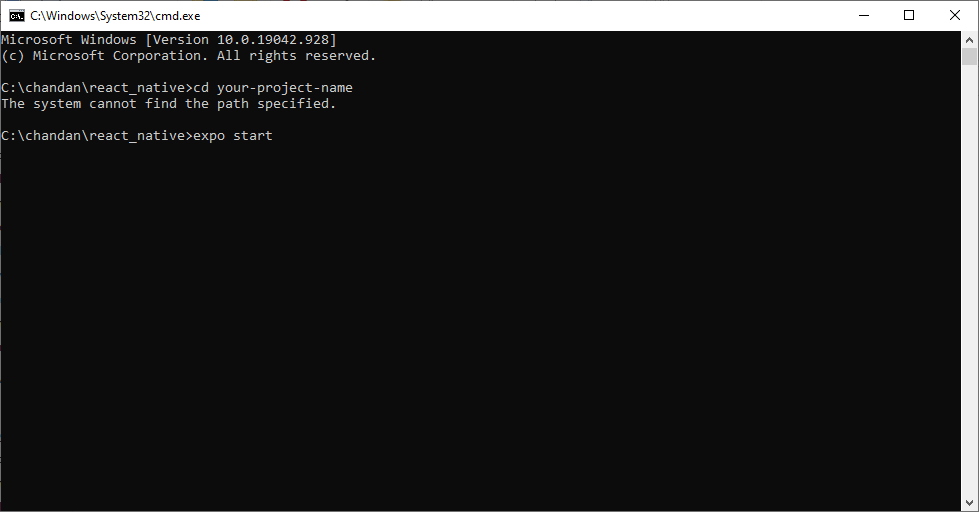
Open root project directory on cmd, poweshell or terminal and write given command

cd your-project-name
expo start
After your project started, it’s run on your default browser.you have multiple options to run React Native app.The most popular one may start the app directly on your iOS or Android device by simply scanning the QR code after the startup with your phone’s camera app. You have to install the expo Go from the app Store your phone.


